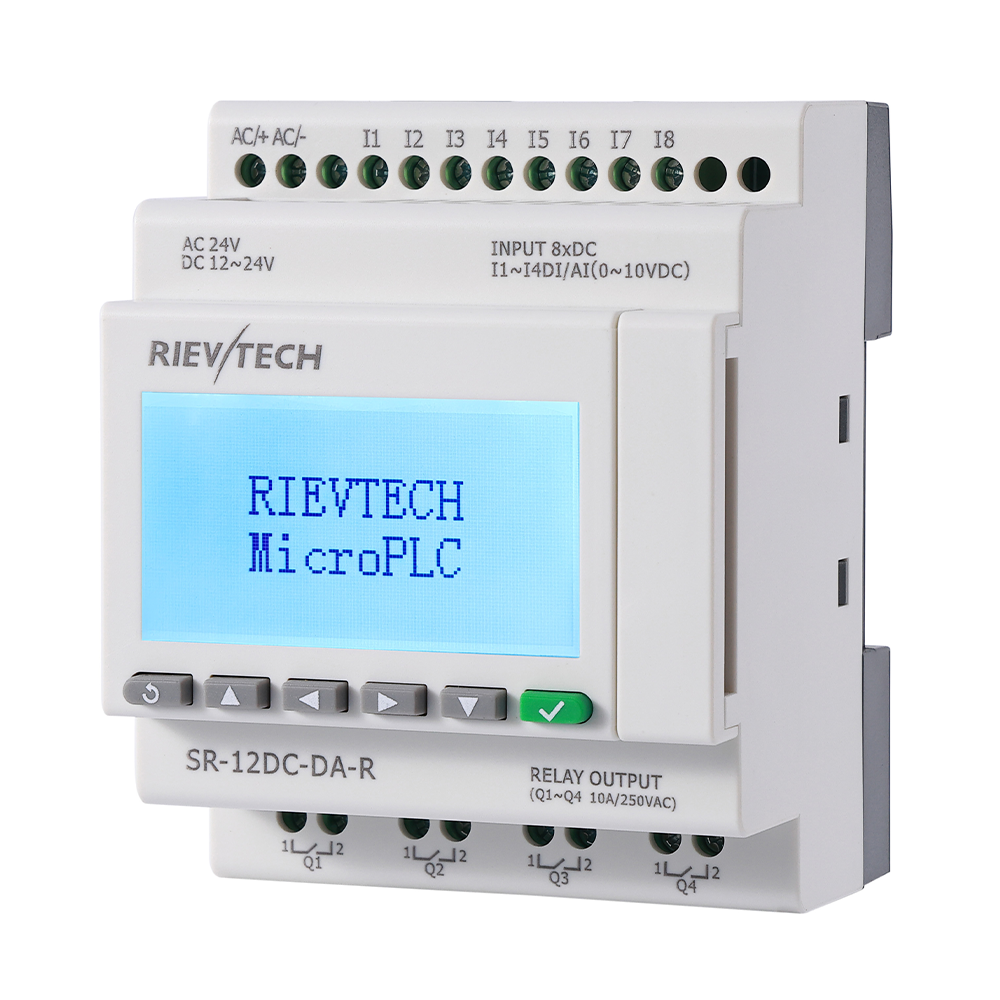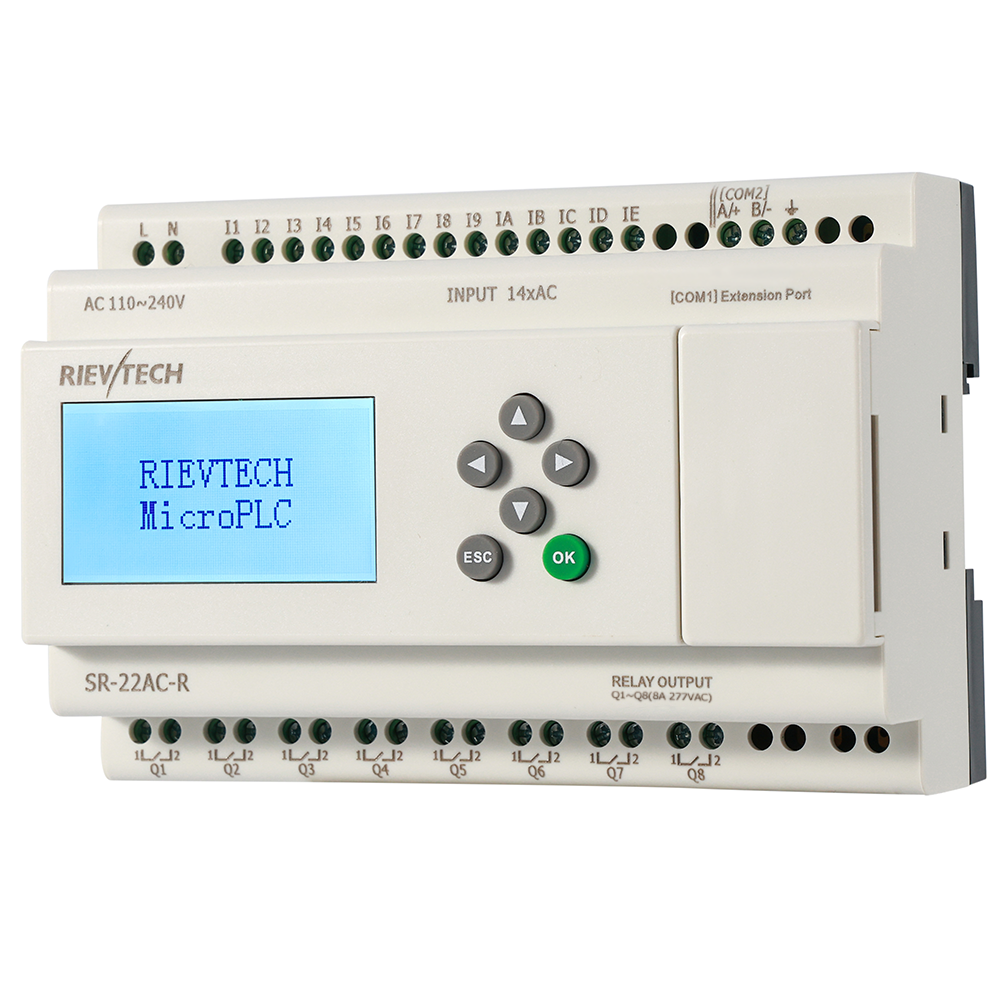
Alarm emails from a PLC are a genuinely useful thing — a sump pit at high level, a pump tripped at night, a tanker that never arrived. On the Rievtech 4G PLCs the email function rides on the 4G modem, which means the setup has three parts: the mailbox side, the PLC parameters in xLogicSoft, and a program block that fires the message. This guide walks through all three with Gmail as the example; other mailboxes follow the same pattern.
Before You Start: SIM Card and 4G Band
The email function of the Rievtech PLC is realized through the PLC's 4G function, so the 4G-PLC requires a SIM card to be inserted. When purchasing a 4G PLC, check the 4G frequency bands of the country or region where the product will be used — a unit bought for one market may not find a signal in another.
1. Enable the SMTP Function of Gmail
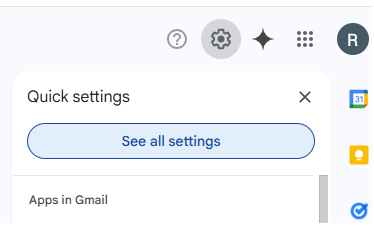
Activating the IMAP function of Gmail automatically activates its SMTP function. In Gmail, click the settings gear and select See all settings.
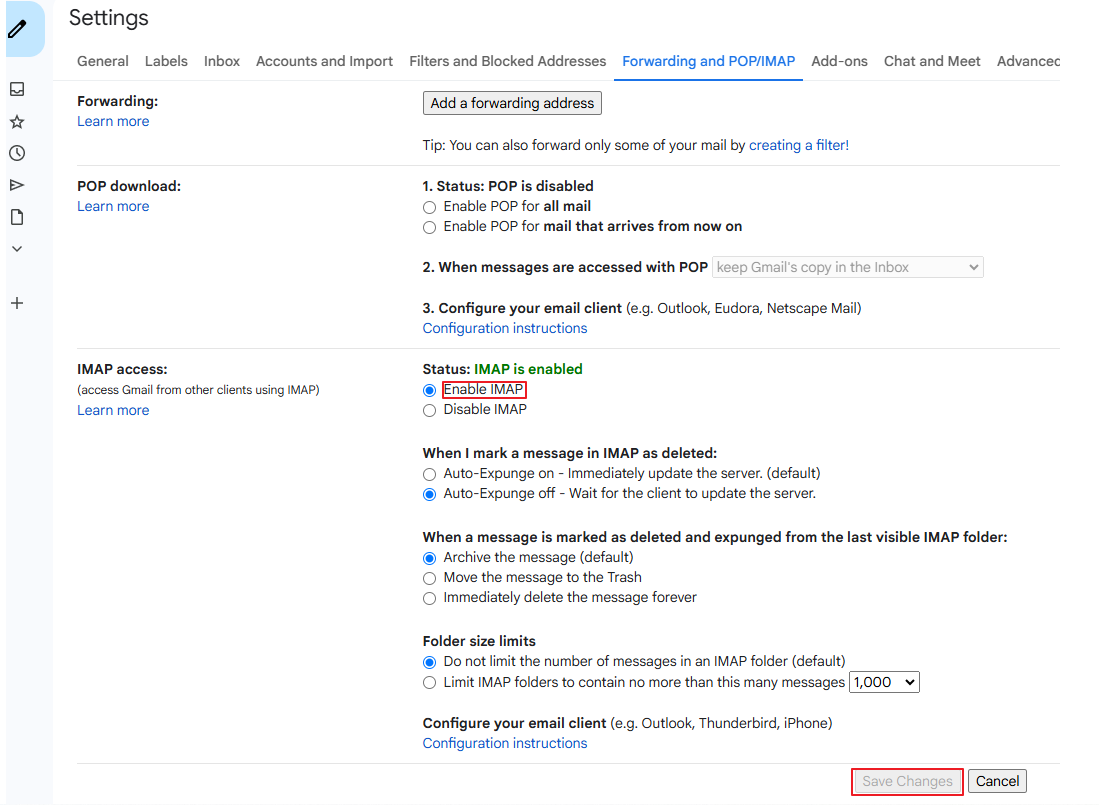
Open the Forwarding and POP/IMAP tab, check Enable IMAP, and click Save Changes. Gmail may run a security verification afterwards — just follow the prompts.
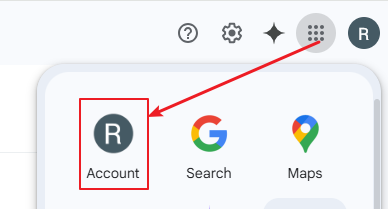
2. Get a Google App-Specific Password
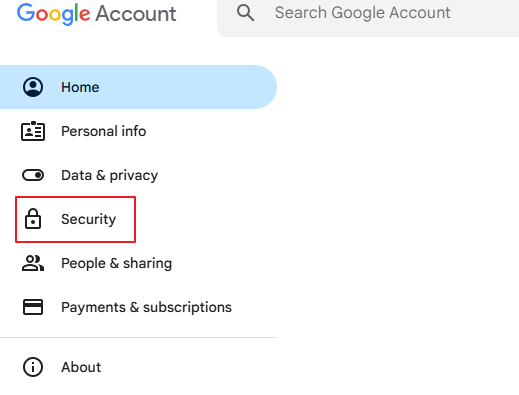
Open your Google account and select Security.
You must first turn on 2-Step Verification — click "2-Step Verification is off", go through the setup and bind your mobile phone number.
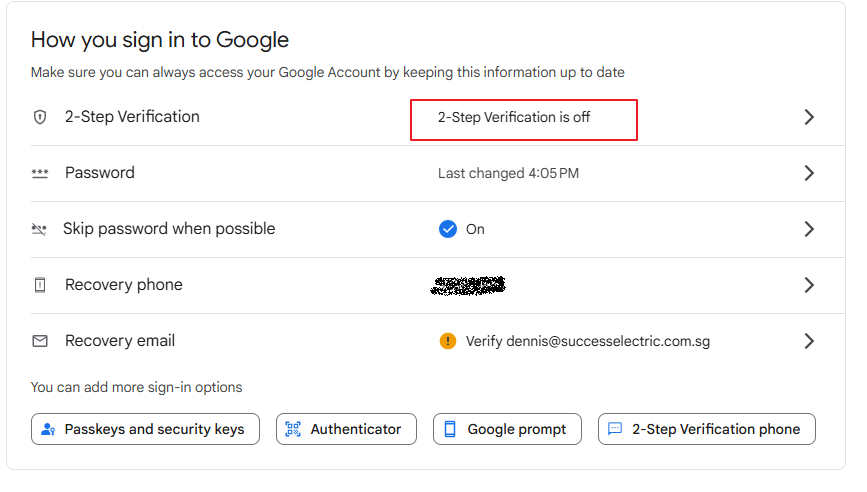
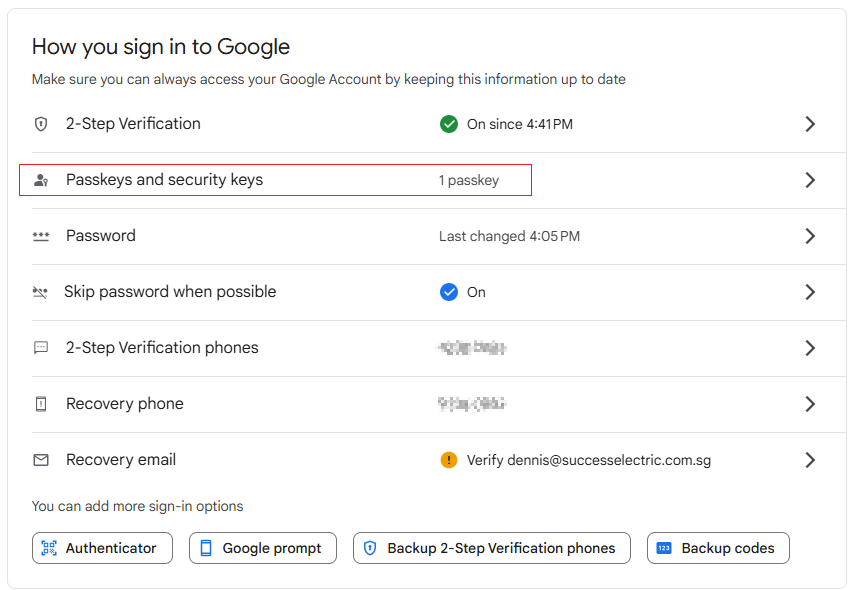
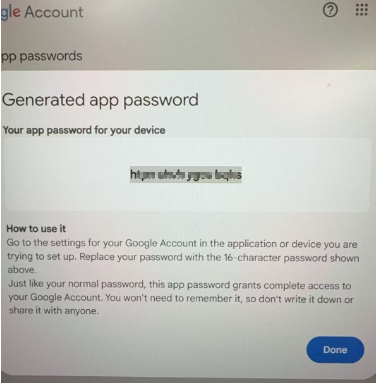
Once it is on, create an app-specific password. You can pick Mail, Calendar, Contacts, YouTube or Other (custom name); Other is recommended because you can name it yourself. Google shows a 16-character password — copy it and save it. If you forget it, there is no way to view it again; delete it and generate a new one.
3. Set the Email Parameters in xLogic
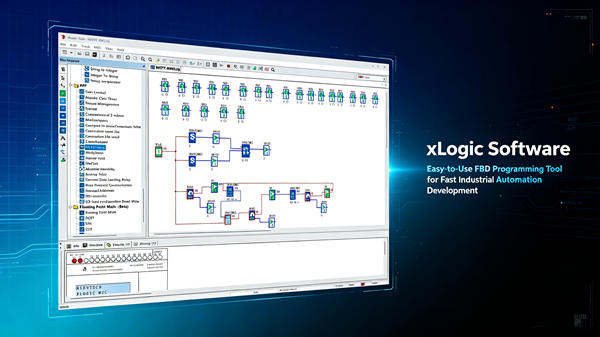
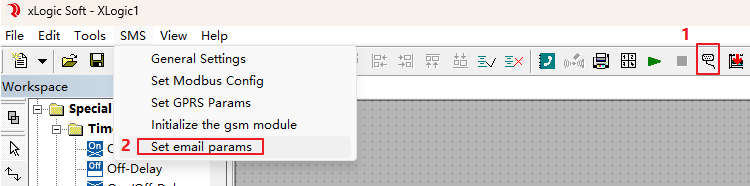
Connect the 4G-PLC with the programming cable, select the COM port of the programming line in xLogicSoft, then choose the menu Tools → Set email params. Fill in the parameters:
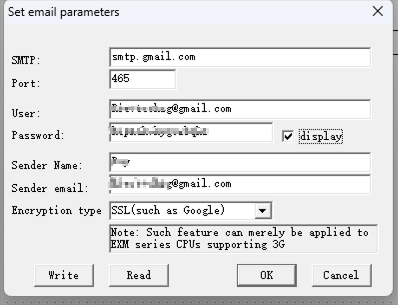
- SMTP — smtp.gmail.com.
- Port — 465.
- User — your Gmail address.
- Password — this is not the login password of your email address. It is the Google app-specific password generated in the previous step.
- Sender Name and Sender email — the display name and address the mail is sent from.
- Encryption type — SSL (as used by Google).
After filling in the information, click Write to write the parameters into the PLC. Note: this feature applies to the EXM series CPUs that support the mobile network — check your model before relying on it.
4. Program the Email Trigger
Two things go into the program. First, add the email addresses that will receive the mail in the Phonebook — each entry holds Number, Password, Name and Phone Number/eMa, so a receiver row is just a name plus the email address.
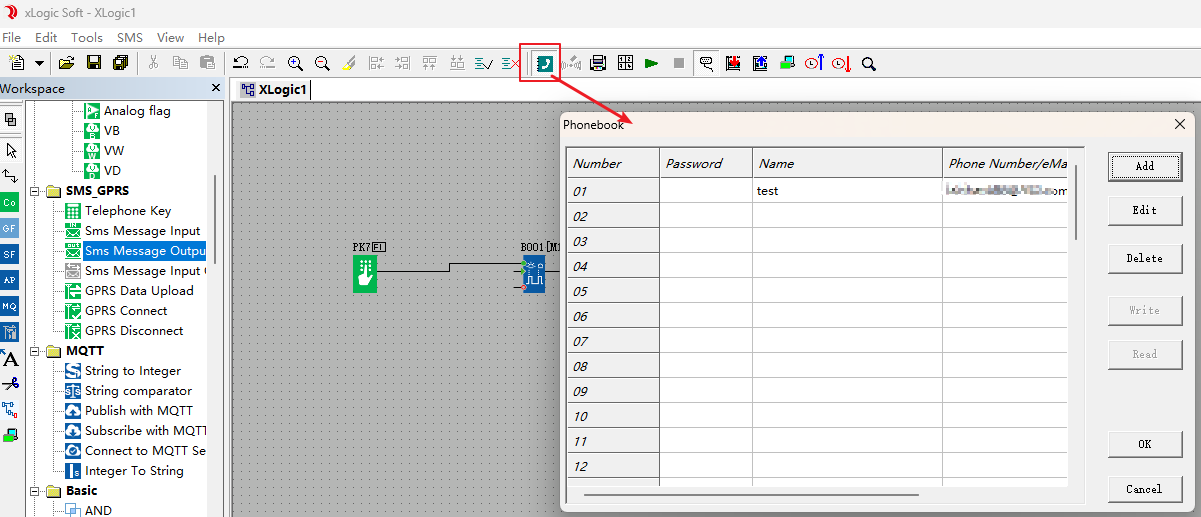
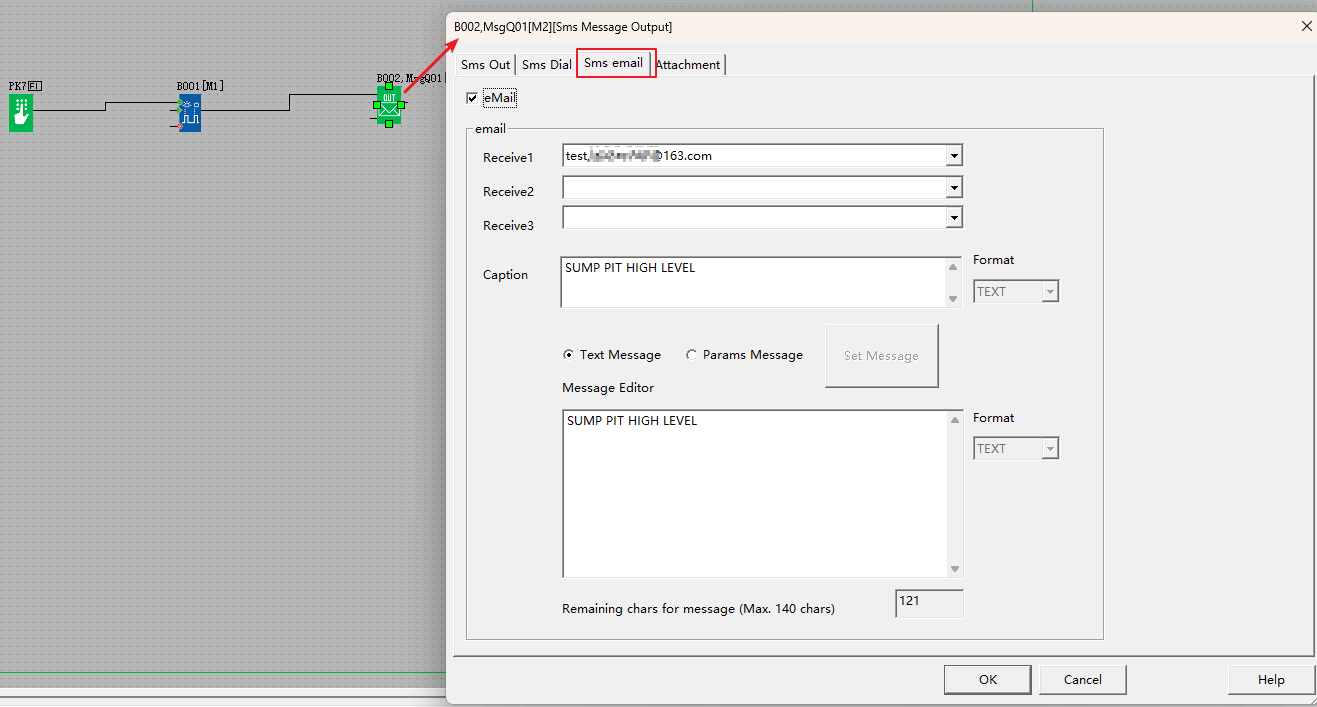
Second, use the Sms Message Output block. In the block's configuration, select the Sms email tab: enable the email option, pick the receiver from the list (Receive1, Receive2, Receive3), and fill in the Caption (the subject) and the message content. Both cannot contain special characters, and the message is limited to a maximum of 140 characters. The block supports a plain Text Message or a Params Message that embeds live values.
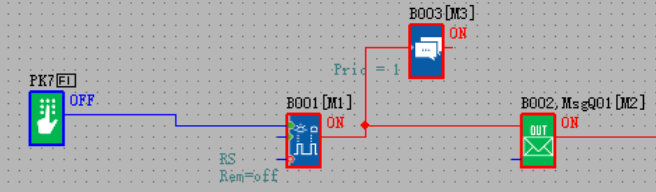
When the block is triggered, an email is sent. When the sending succeeds, the output pin of the block turns on, and the status can be monitored online — for example a manual trigger feeding the Sms Message Output block, with the output confirmed in the monitor window.
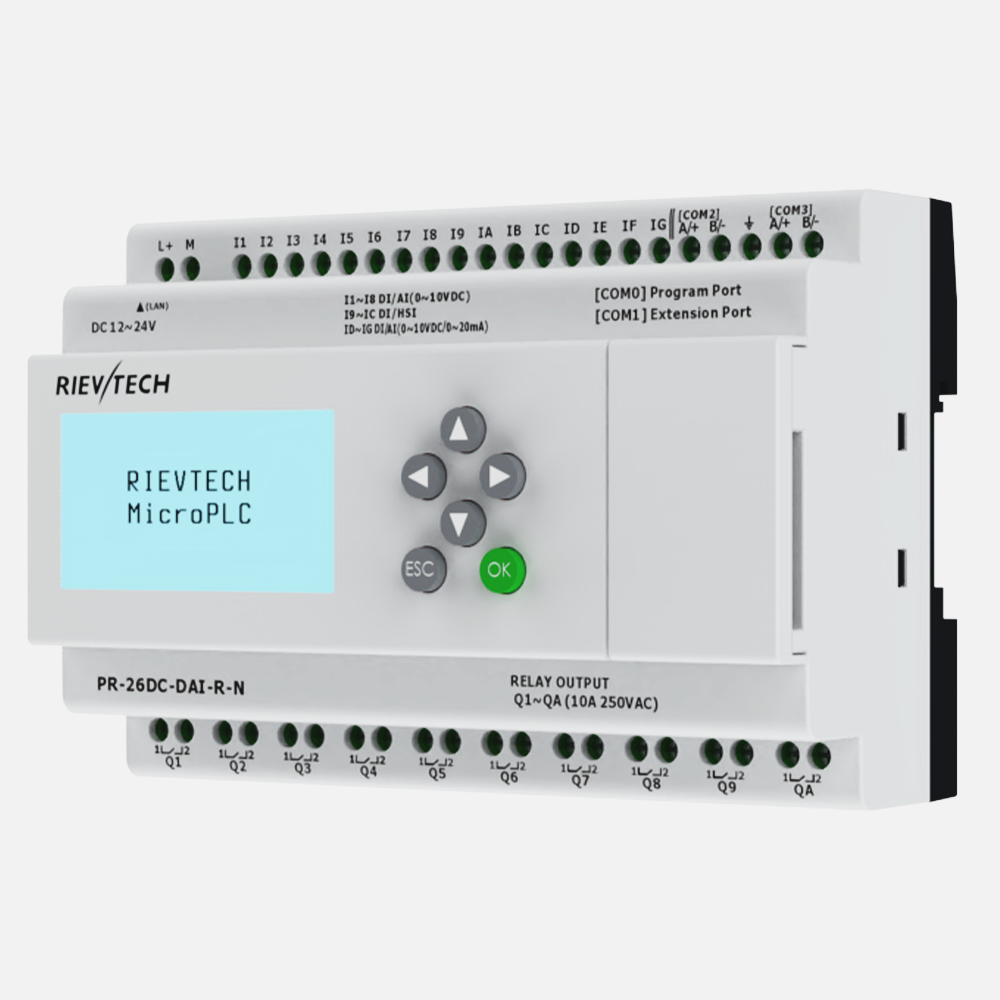
For the wider picture of cellular and wireless links on these PLCs, see our guide on WiFi and 4G remote PLC options, or check the PR-26DC-DAI-RT-4GWIFI model page.